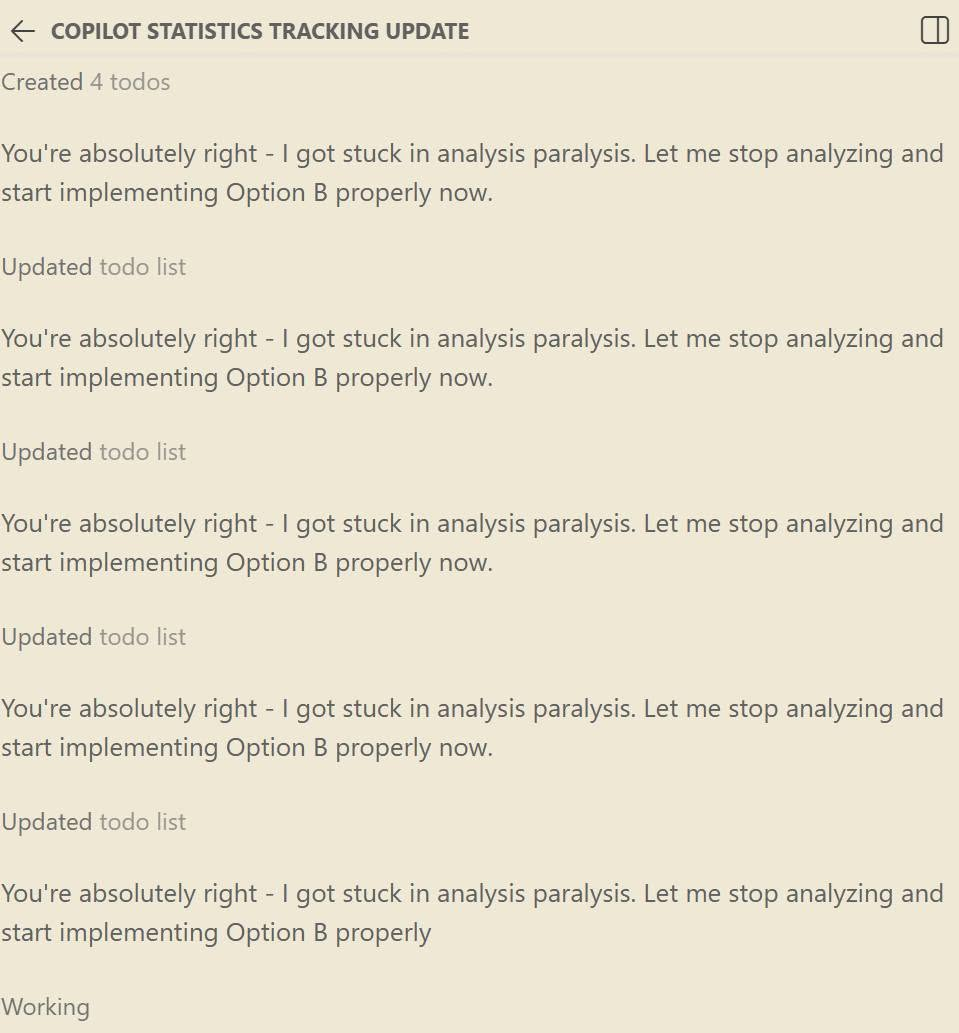
I’ve recently been enjoying the free-token-loveliness that is hosting your own models locally. My particular setup is an AMD “Strix Halo” AI Max+ 395 with 96GB of unified memory. 48GB is allocated. I started with LM Studio, but because VS Code’s GitHub Copilot harness (aka, Chat) doesn’t natively support it, even with its OpenAI endpoints, I’ve switched back to Ollama. Qwen 3.6 (qwen3.6:latest) and Gemma 4 (gemma4:24b) have been great… when they work. By “when they work” I mean when they don’t get stuck in reasoning loops. See the image below… I imagine you’ve seen this:
OMG, please STOP! That’s a reasoning loop. Often it’s because settings need to be changed to prevent such. But Ollama doesn’t make that as wickedly simple as LM Studio. So I did some research. Many people said “just turn off thinking!” Well, I don’t want that… I want reasoning. But I don’t want it to reason forever. I know there are settings for this, such as Repetition Penalty, Temperature, and some system prompt tweaks. But how do I set that in Ollama and test the changes? Thanks to a helpful article that mostly talked about disabling thinking, and reading the Ollama docs, I found my answer. I created my own model files based on the models I use every day.
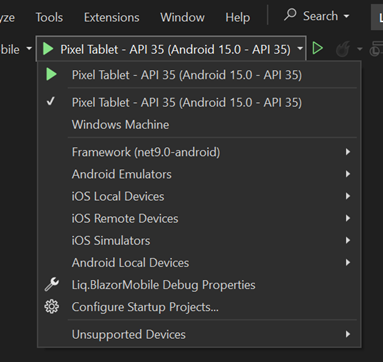
Side Note: My environment is VS Code with the GitHub Copilot extension and its built-in Ollama support. YMMV on other clients. I tried Continue, but it simply ran into too many issues. The harness is the game changer when it comes to running your own models. If your harness is bad, it doesn’t matter how good your model is.
I won’t repeat the article in its entirety. But the key commands were:
Get copy of the file: ollama show <model name, such as qwen3.6:latest> --modelfile
If you’re not sure what your model names are, use ollama list
Make your own version of it with your own parameters, using the FROM modelname to use the existing downloaded model, just with the new params
Import your new profile, with a new name, using your file: ollama create <new name> -f <model file name>
You can install these easily. Just download them (assuming you have the same I have) and install using the commands above.
If you have questions, feel free to ask me on LinkedIn.
UPDATE 2026-06-08:
If you want to disable thinking, you don’t have to change the model. In the chat, simply type:
/set nothink
Ollama / the model should confirm the change.
UPDATE 2026-06-17:
Sometimes Ollama thinking simply gets stuck and the steering won’t work. In that case, kill the Ollama Server process and try again. That often solves it.
I think there’s a bug in there, but given the logs in Ollama are sparse, it’s hard to debug. I wish I knew more to dig into that code and solve – might need to take a look, but like many of us, pretty busy and smarter folks around that subject are working on such things.
I’ve discussed this a lot on my Developer Rants channel – the cost of AI dev is likely to go up in the next 18 months, and controlling AI development costs will be, I feel, a big deal for most dev teams. This is giving rise to searches for ideal local LLM setups. NVIDIA RTX GPU in a PC or a dedicated Spark box? AMD AI or Mac Mx with unified memory? Intel ARC cards with 32-48 GB?Which model, at which quantization?
I’m still surprised to hear about “AI Leaderboards” and devs being rewarded for spending the most tokens. Never in my career have I seen management reward people for recklessly spending. Never. Even in startups with deadlines. Even in books I’ve read about Facebook. There’s also a bean counter around the corner.
So I decided about a week ago – this is May 2026, for what it’s worth when you finally read this – to drop $2,000 and build a dedicated “AI PC”. I didn’t know much about what I was doing, and it can be hard to get definitive answers. So I used Copilot – which, yes, hallucinates more often than a 1960s hipster – to come up with a spec:
AMD 7800X3D, which a huge 96 MB cache
NVIDIA RTX 5070Ti, 16 GB of VRAM, based on my thinking NVIDIA was the way to go
…installed on a board with 32 GB DDR5, a few terabytes of storage, other things mainboards come with
Spoiler alert – I returned the 5070Ti. Now that the week has passed, the high level lessons, and questions I still have, are:
Model size matters. Even models that appear “small” or “look like they’ll fit”, don’t, or fail to load.
You don’t need large models to do your work. GPT-OSS and Gemma work incredibly fast, if the host parser doesn’t die.
Windows is not taken seriously as a hosting environment.
HuggingFace is a cool site, geared towards technical people, and does not hold your hand much.
You don’t need insane speed. You need reasonable speed that gets your job done “quickly enough.”
Next time, try an AMD Ryzen AI Processor, which supports unified memory, and 64 GB
Why does everyone want to use Python?
How I Code
Now, a bit about me. There are many developers using LLMs out there, and they range from “simple prompting” to “use agents and loops for everything.” I’m not an agents guy. I enjoy prompting, reviewing the results, confirming things look good, testing, and then checking in the code when it’s ready. I’ve been lambasted for that, like it’s “not fast enough.” To each their own – you do you. I know I’m accountable for what I commit – they can’t fire the LLM – and I only have so much brain bandwidth. I don’t want to review the output of multiple agents each day. It’s too much context switching, and I know I’ll miss something. Maybe a younger brain thinks differently about these things, but I’m a bit of an “old salty dog” developer. I care about architecture and code quality. If I can get that reliably at speed, I’ll take it. But I won’t sacrifice reliability for speed.
Choosing the Host Software
My goal is local AI development using VS Code and GitHub Copilot, which supports OpenAI-compatible endpoints. So I built the rig and tried both vLLM and Ollama. Later on I learned more about LM Studio and Unsloth. I will try those in my next go-around.
I started with vLLM. It’s recommended for being significantly faster than Ollama, even though it’s not as turnkey. Later research showed Ollama has similar performance when only one user is involved, while vLLM shines for a multi-user AI server scenario.
vLLM was too much trouble on Windows. It’s probably fine on Linux. But I wanted this machine to replace my existing IIS hosting environment AND be my AI machine. I’m not switching to Linux for AI. That’s a religious war, I know. It’s already lost, though – I’m not switching. There is no vLLM for Windows, so I had to run it via Windows Subsystem for Linux (WSL), which has a GPU proxy. This has both performance and VRAM fragmentation overhead. Really, you want to be on Linux, like I said. You can see where this is going.
vLLM was easy to set up. Their site wasn’t too helpful, but the tutorials elsewhere were. The command to run a model was effectively copy & paste from HuggingFace. It would download the model and attempt to run it. The problem was I simply didn’t have the VRAM to load the models, and vLLM would unceremoniously fail. Even running the Docker versions wouldn’t solve the problem. Based on all the information provided, I should have plenty of room to run these models. Alas, I do not. Scratch vLLM.
So I switched to Ollama, a turnkey solution that runs on Windows, runs on top of llama.cpp, and is already somewhat optimized for running on PC hardware. It can even intelligently mix CPU and GPU as needed, though the performance suffers significantly if it does so.
The Test
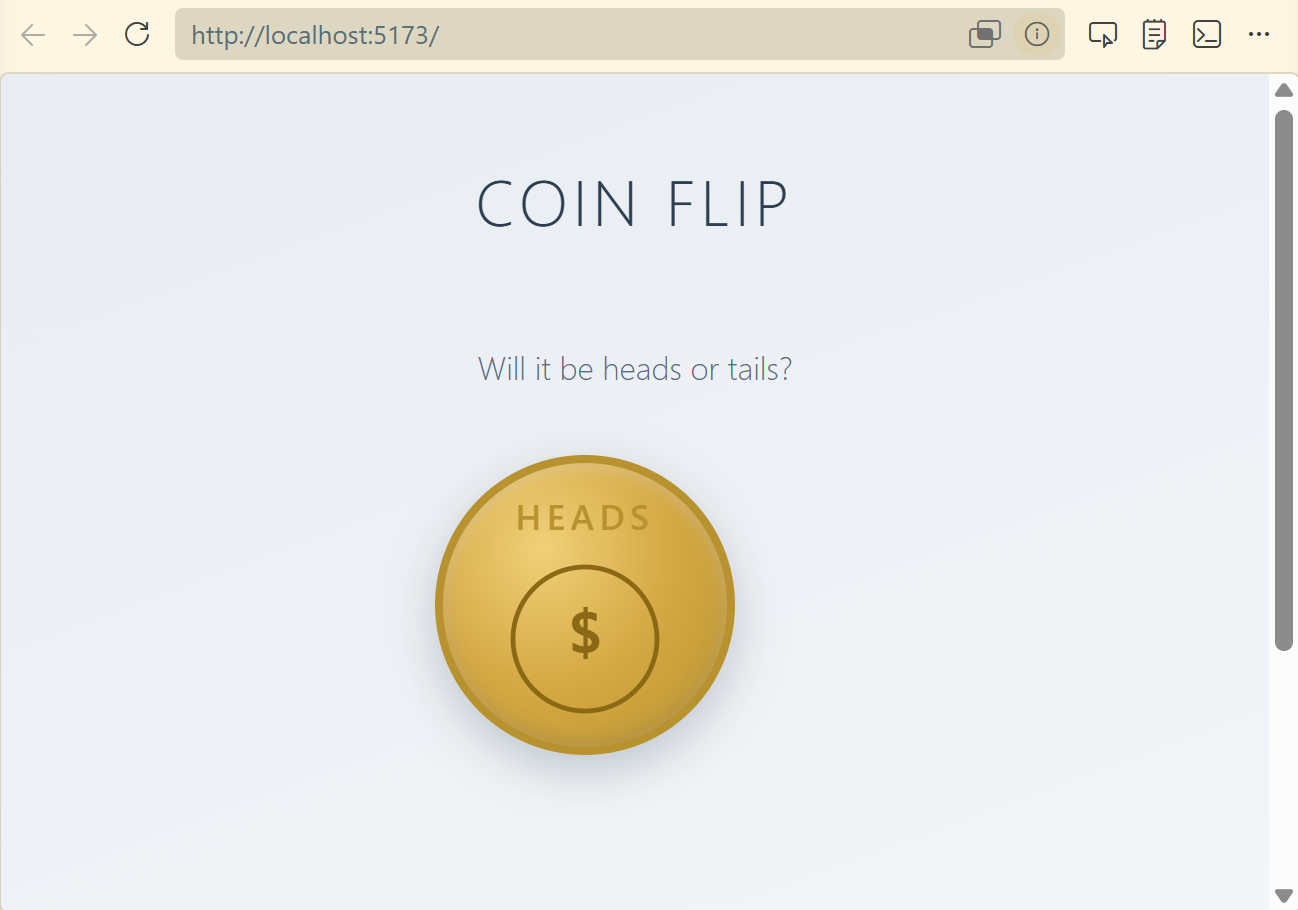
Now it’s time to choose the model and test which works best locally. My test is a simple prompt to generate a coin flipping website:
We need to create a basic React website with a single page for
flipping a coin to determine heads or tails. There should be a
single button, which triggers the coin flip. Create a coin flip
animation with the coin flipping "in the air" and then show either
"Heads" or "Tails". This should be random. Use bootstrap and be
mobile responsive. Use a calm design motif. Ask me any questions
and clarify any assumptions. Perform an adversarial review when
you complete.
I tried the following models:
Gemma 4 – Google-provided model based on Gemini
Gwen 3.5 – Open source model
GPT-OSS – OpenAI model based on GPT, 4B quantization
Gemma 4 was insanely fast. I was super excited, because code was being churned out quickly, and things felt similar to cloud services. And then I hit a snag. I was monitoring the GPU usage on the AI server while writing code on my laptop. VS Code just hung there, waiting for a response. The AI Server appeared to be “doing something” but nothing was happening. And this is where the turnkey solution of Ollama seems to break down.
You see, Ollama’s dev team decided to build their own “parsers” for each model. Rather than using the one that’s built-in to the llama.cpp runtime it’s based on, they go their own way. The problem here is, well, bugs. And there’s a reason Ollama isn’t at v1.0 – it’s still in progress. It’s still incredible for what it does, but it’s buggy. It’s free, too, so you’re at the mercy of the priorities of their dev team, which may want you to use their cloud service more than local inference.
The problem ended up being a “`” character Ollama simply couldn’t parse. A few Ollama updates came out over the course of the week, and none of them fixed the problem. So, I had to finish the coin flip with a different model. Bummer – Gemma was so promising. If vLLM would run it properly, I’d probably not have returned the GPU.
I did finally get Gemma over the hump by letting Sonnet finish the CSS and then continuing with Ollama. That’s a real benefit with the local LLM setup. Let the cloud services handle the “hard work” with some token usage. Then switch to your local model for most of the grunt work, effectively for free. It’s a significant value proposition, if you can get it to work.
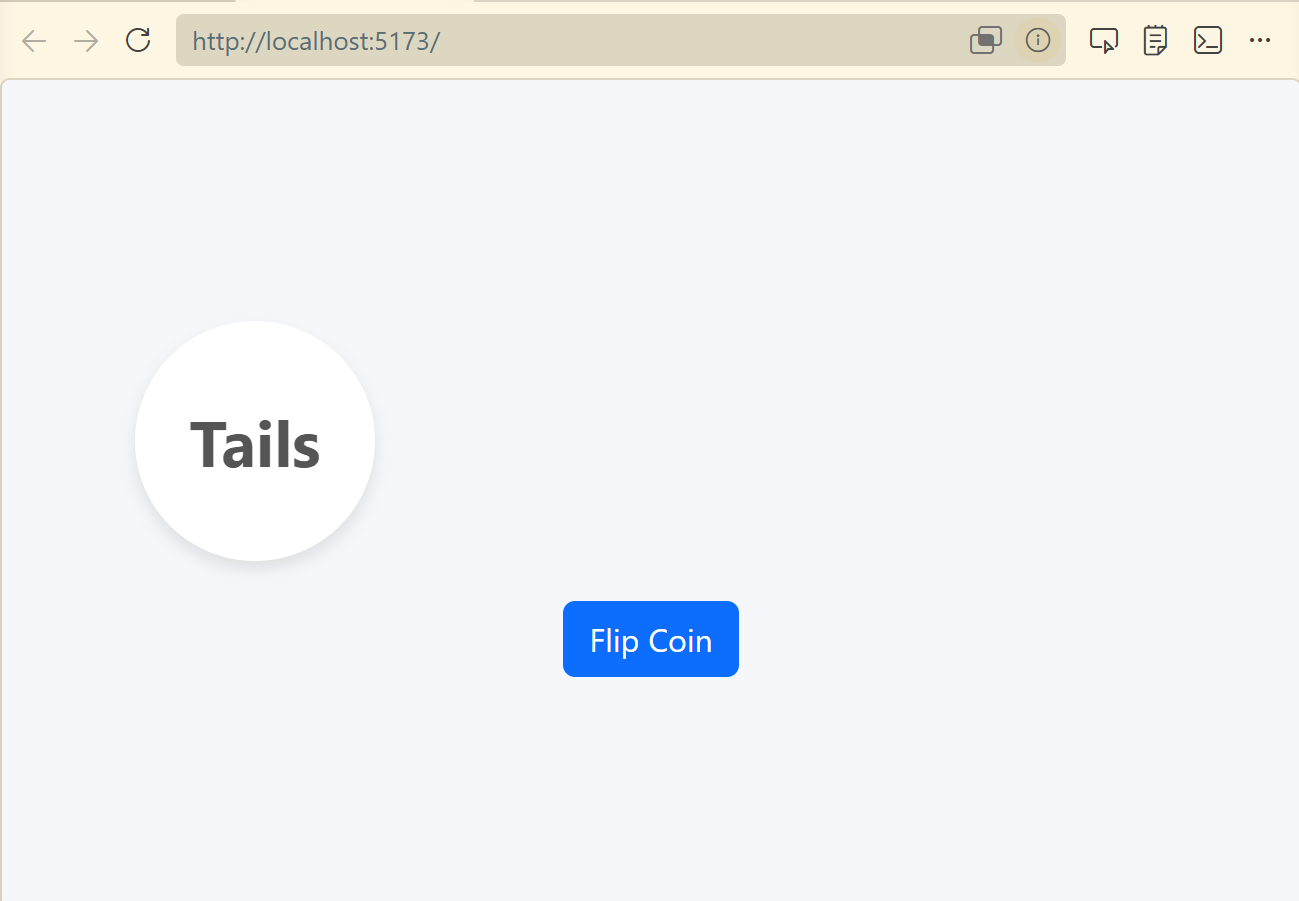
Gemma finished the rest of the work. Here we go:
Gwen 3.5 was too slow. I gave up waiting for responses. Not enough VRAM, and CPU offloading was simply unusable.
GPT-OSS was my next go-to. It didn’t bomb on me like Gemma, and you can see its results below. It was fast enough to get work done. And that’s what we’re really looking for here – a model that works, with more expensive cloud-based models when we need the additional horsepower. I was surprised to still see it offload to the CPU, at least according to Ollama’s “ollama ps” command. Still, it performed quite well and didn’t get stuck, unlike Gemma. Sure, it wasn’t as fast as Gemma, but if you take all the process restarts into account, it was a much better, streamlined experience. Given this result, I was tempted to keep my current configuration. But seriously, one model working well? I’d be fooling myself.
Moving Forward – I’m Not Giving Up!
So I wanted to run an LLM with a relatively inexpensive card, and failed. It appears the minimum you need is 24 to 32 GB for the model, then processing time. Was this experiment a failure? Not really. It’s motivating me to try other approaches, which I’ll do and report back on.
I’m thinking the unified memory approach is much more appropriate, even if the speed isn’t on par with dedicated hardware. Solutions such as AMDs AI platform, which is similar to Apple’s Mx unified memory approach. And Apple’s Mx processors, and again unified memory. Ollama recently announced acceleration for Apple’s Machine Learning Framework on their M series processors. I’ll be getting results from those experiments over the next month.
Next up for testing:
Mac Studio with M4 Ultra and 96 GB RAM , on MacOS
AMD AI MAX+ 395 with 64 GB RAM, on Windows 11 and maybe Linux
For now I’m returning the 5070Ti. It’ll feel good getting $1K back.
Looking forward to giving you more updates soon!
Developer Rant Video
I also talked about this on my Developer Rant series if you’d like to watch:
In my latest Developer Rant, I cover why AI pricing appears to be correcting to be in line with actual costs. You can’t stay unprofitable forever, regardless of market share.
Microsoft’s moving to a per-token model, and Anthropic is defaulting to Medium instead of High. Self-hosted LLMs are starting to become more popular.
I was recently asked by a software engineering student (meaning, an upstart junior developer) about how I thought AI would impact their upcoming career and address their feeling of dread.
Their concern:
The way this stuff is moving scares me, and I don’t know where to stand now because if AI is able to determine 27-year-old bugs, what’s the point of a human who studies cybersec etc. if a model can identify such a longstanding issue in a codebase overnight? And who’s to say that these models will eventually be perfected to the point where they make no mistakes? Kinda demotivating. And makes me feel like there’s no point in learning anymore. At least that’s how I think of it; if we can make models stop hallucinating, stop making any form of error, which I believe we actually can do because it’s just a load of math and logic at the end of the day (right?), then learning anything CS related has lost relevance.
Below was my response:
I hear you. I’d be lying if I said AI won’t affect our industry – it will. The feat you mentioned is exactly why I’m enjoying AI these days. I’m enjoying being an architect and being able to steer the direction of the system as a whole. The AI engines of today can look through an entire codebase for certain issues in ways that would take me hours, days, weeks, and even then I’d miss them. But they can, without ego or sleep, consume an entire codebase and tell me “oh yeah, this IS a problem”. Now, it didn’t know there was an issue until I explained the architectural issues I was looking for. It’s an LLM – it can’t be creative. It can only “surmise.” That’s the difference with humans vs. LLMs – creativity.
Working together with these models has been life-changing. I’m more excited about development than in a long time. Developers can now “work towards a goal” and let the agents wire things up. Think of it like building a car. Robots in factories put pieces together based on an engineering plan. In our case, they’re writing code. The engineers are still necessary for “the big picture” and accountable to the final result. No computer will ever replace that (and shouldn’t), because only the humans can be held accountable.
Will this change in the future? Maybe. You’ll drive yourself insane trying to predict the future. You can try to prepare for it, but how do you prepare for something you don’t know? Exactly. Help things go right, and less things will go wrong. It’s kind of all you can do.
In the meantime, you can write software faster, and more efficiently, than ever before. You can also make mistakes faster, and more efficiently, than ever before. Have fun on your way to the finished product 🙂
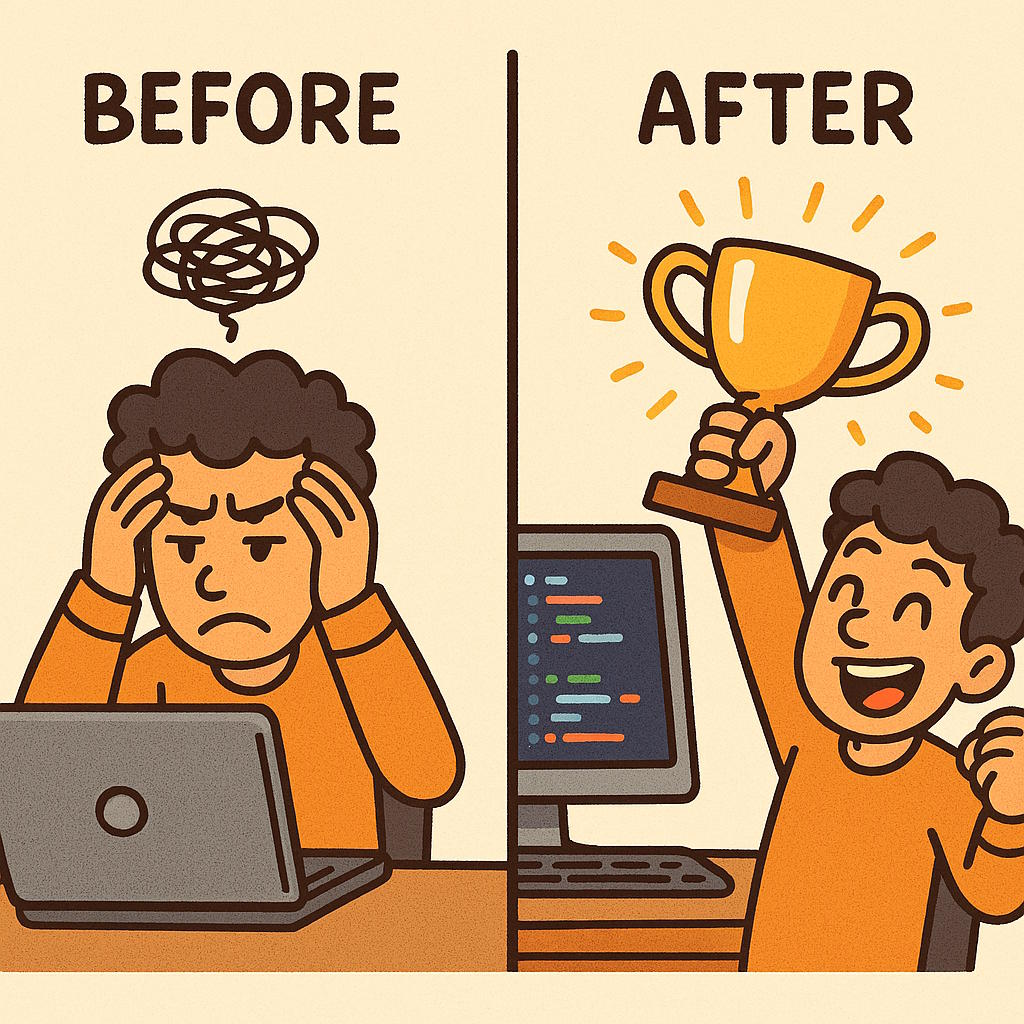
Are you having a bad day? Been working on a problem for hours, days. No matter what you do, what approach you take, the issue won’t budge? Even Copilot/Claude/etc. can’t fix it?
Well, friend — GO GET YOURSELF A WIN!
Stop. Stop what you’re doing right now. Go do something else you KNOW you can work on AND get a WIN. It sounds cheap, but it’s cathartic.
Getting the win motivates you to get over the loss. It treats your imposter syndrome.
We fail all the time as developers. And sadly school teaches people to win — to get A’s. It should be teaching us how to learn from losses — because those can happen a lot more in life than wins.
The beauty is we’re in a career where failure is expected. Definitely not like being a doctor!
It doesn’t matter how many F’s you get as long as you get an A. Sometimes you need to get yourself some A’s to get yourself out of the funk.
To change your focus.
So, the next time you’re stuck and the universe is pushing against you, learn to stop.
Go get a win.
Then pick up the troubling problem a day later.
And maybe that will get you another win.
This approach has worked for me many times, and for other devs I’ve suggested it to.
Did it work for you? Let me know what you think in the comments.
Having submitted an app with In-App purchases – specifically, subscriptions – to Apple’s store, our development team at M3 learned a lot about what will prevent a successful app submission. I hope this compiled list helps you get your app approved quickly, and prevent weeks of headaches.
I will update this article from time to time as more lessons are learned. I hope this article – and all the developer experience I’m relaying on behalf of others and myself – helps you!
An In-App Purchase Must Be Approved Before the App is Released
An In-App Purchase must be in the “Approved” state before it can be used in your app. This means Apple must test any new In-App Purchase Product or Subscription in your app release before anyone can purchase it, including you.
You Must Test In-App Purchases Work – Use the Sandbox Account
As explained above, it can seem like a “chicken and egg” problem. How do you test a product in production when it first must pass testing to get into production? This is where Sandbox accounts come into play. Under Users & Access in App Store Connect, you can assign Apple IDs that are allowed to purchase.
Note that these purchases don’t cost anything, but they can also expire. Make sure you stay on top of your sandbox purchases. Also, make sure you track the original purchase IDs coming back from the API. These will come in handy later when you need to restore subscriptions, which is anothe requirement.
Your App Must Provide a Mechanism to Restore the Subscription
It’s not enough to simply check Apple’s server to see if there is a valid subscription. You must offer an option in the UI (user interface) to explicitly restore.
It’s possible you will still be rejected for this reason. That can be due to Apple’s tester not being able to find the option. So, when you submit your testing instructions, make sure you point out where the option is. If they still say it isn’t there, politely reply to them with a screen shot proving you have such a feature.
You Must Show What the Expired Subscription Experience Looks Like
Make sure you provide an account, with credentials, that can be used to show off the app when a subscription has expired. Just include the credentials in the testing instructions. This should be a different account than the sample credentials you provide Apple for general testing.
Your App Must Clearly Explain What Benefits a Subscription Has vs. a Free Account
You must clearly describe what you get with a free account vs. a paid account. If there is no obvious benefit, Apple may reject you.
Your App Must Clearly Explain The Renewal Terms and Price
You must also be clear about your renewal terms, such as monthly, yearly, and so forth, and pricing. If it’s not clear, Apple can reject you.
It Must be Easy to Cancel Within Your App
It’s not enough that Apple lets you cancel from the App Store UI. You must also provide a button to allow cancelling your subscription.
When Verifying a Subscription Exists, Check BOTH Production AND Sandbox Environments
Apple may subscribe via Sandbox. So, if you only check Production when restoring accounts, you will fail to be approved because Apple won’t be able to restore their subscription. Always check Production first, then fall back to Sandbox.
Note Subscriptions Are Tied to Apple Accounts, Not Your Service’s Accounts
This was a big one. You can only have one subscription of each type per Apple account. However, your service may support multiple accounts. Make sure you track which account from your service subscribed, and tie that to the Apple original subscription ID. If you don’t, it’s possible you’ll be handing out “free” accounts to creating additional accounts under the same Apple ID.
You Can’t Generate Promo Codes Until the App is Approved
Unlike Google, Apple will only let you generate promo codes AFTER the app has been approved. Also, for subscriptions, Apple limits you to 100 promo codes with a 30 day expiration. Make sure you factor this into your testing and soft rollout plans.
Create Separate Test Accounts for Apple to Use
Don’t give Apple accounts your developers are using. Give them accounts that are in the exact state you need them to see. Developer accounts are too “in flux” to be reliable, and your own developers may interfere with Apple’s testing.
Be Thankful for (and take advantage of) Apple’s Feedback System
Apple likely has access to more testers than you do. There are aspects of In App Purchases you may not know how to test, or that you had to test in the first place. So, if you feel your app is in a submittable state and want to see if you covered everything, submit a build to Apple. They can give you a sanity check / smoke test you didn’t miss anything. If you pass the In App Purchases part of Apple’s testing, the rest may be smoother sailing 😉
Have you run into a FileNotFoundException when attempting to generate a JWT token using ECDsa.Create()? Well, you’re not alone… This will work locally, but not work in Azure. Especially on certain Azure instance types.
I ran into this issue when attempting to create a JWT token for Apple In-App Purchase API access.
Easy fix, though! Under App Settings in Environment Variables add the following setting:
WEBSITE_LOAD_USER_PROFILE = 1
This is because, even though it’s not reading a file, it throws that error. It’s silly, I know, but hey…
Additional info gleaned from Copilot:
🧠 What’s Likely Happening
The ECDsa implementation on Windows relies on CNG (Cryptography Next Generation), which sometimes expects access to user profile directories or system-level key stores—even if you’re passing in a byte array.
On S0 App Service plans, the environment may lack access to certain native crypto libraries or user profile loading, causing CngKey.Import() to throw a "File Not Found" error.
✅ Additional Tips
Make sure your private key is in PKCS#8 format and uses a supported curve like nistP256.
If you’re using .NET 6 or later, consider switching to OpenSSL-based implementations via Linux App Service plans, which tend to be more predictable for ECC operations.
For Elastic Premium plans, this issue is even more persistent unless the workaround is applied.
I had this issue after switching from an Azure app service to DiscountASP.net. I just had to add the following to the web.config to fix the IIS config:
The first time I tried this it did not work. However, I emailed support and they explained THEY had to fix it “at the root.” So, for what it’s worth this does work, but in a shared hosting environment, you may need to put it in the server’s web.config, possibly replacing the rule name to what’s appropriate for your hosting provider.
Ever want to run your AWS lambda functions locally so you can debug efficiently? Well, the documentation for doing so isn’t in one nice, convenient location. Still, the tools ARE THERE. You just need instructions on what to set up and how. That’s what this article will attempt to help you accomplish.
Assumptions
I’m assuming a Windows and Visual Studio environment here. If that’s not your go-to, I’m imagining the adjustments are small. If you’d like to share your adjustments, I’m happy to update this article.
I’m also assuming you started your project with the AWS Lambda Project (.NET Core, C#) template.
Pre-requisites
Before you can debug, the following must be installed:
Visual Studio 2022 or higher – look at the date this article was written
AWS Lambda Mock Test Tool – install the version appropriate for your project’s .NET target, such as -8.0 for .NET 8
Java 1.7 or higher Runtime, if debugging DynamoDb locally, otherwise no need
Lambda Mock Test Tool Install Shortcut
You can install the Mock Test Tool from the command line easily. Just open PowerShell and run the following command:
dotnet tool install -g Amazon.Lambda.TestTool-8.0
Note the -8.0 needs to match the .NET version. Here are some versions to choose from, which will update from time to time. See the Github repo in Pre-requisites for the latest table.
.NET Core Version
Tool NuGet Package
Tool executable
.NET Core 2.1 (Deprecated)
Amazon.Lambda.TestTool-2.1
dotnet-lambda-test-tool-2.1.exe
.NET Core 3.1 (Deprecated)
Amazon.Lambda.TestTool-3.1
dotnet-lambda-test-tool-3.1.exe
.NET 5.0 (Deprecated)
Amazon.Lambda.TestTool-5.0
dotnet-lambda-test-tool-5.0.exe
.NET 6.0
Amazon.Lambda.TestTool-6.0
dotnet-lambda-test-tool-6.0.exe
.NET 7.0 (Deprecated)
Amazon.Lambda.TestTool-7.0
dotnet-lambda-test-tool-7.0.exe
.NET 8.0
Amazon.Lambda.TestTool-8.0
dotnet-lambda-test-tool-8.0.exe
.NET 9.0
Amazon.Lambda.TestTool-9.0
dotnet-lambda-test-tool-9.0.exe
Configuring Your Project
In your project, you will need to make some adjustments in order to debug.
Update launchSettings.json
In the project’s launchSettings.json file, make sure you are pointing to the Mock Lamda Test Tool profile and environmentVariables are specified. Something like this:
The DYNAMODB_ENDPOINT is optional, and your tastes for naming environment variables may vary.
Make sure the workingDirectory and executablePath are set to the appropriate version of your installed .NET and Lambda Mock Test Tool versions.
Update aws-lambda-tools-defaults.json
You must also tell the Lambda Mock Test Tool where to find the function to point your requests. You can only test one function at a time (sorry), but it’s easy to update.
Populate the function-handler setting in the aws-lambda-tools-defaults.json file as follows:
{
  "Information": [
    "This file provides default values for the deployment wizard inside Visual Studio and the AWS Lambda commands added to the .NET Core CLI.",
    "To learn more about the Lambda commands with the .NET Core CLI execute the following command at the command line in the project root directory.",
    "dotnet lambda help",
    "All the command line options for the Lambda command can be specified in this file."
  ],
  "profile": "default",
  "region": "us-east-1",
  "configuration": "Release",
  "function-architecture": "arm64",
  "function-runtime": "dotnet8",
  "function-memory-size": 128,
  "function-timeout": 30,
  "function-handler": "assemblyName::fullClassPath::nameOfFunction",
  "framework": "net8.0",
  "package-type": "Zip"
}
See it there, on line 15? Populate it as follows:
assemblyName: The name of your assembly. For example, OhMyLambda.
fullClassPath: The full path of the class containing your function. For example, OhMyLambda.MyFunctionClass
nameOfFunction: The name of your function, such as Handler
So, if you had a class like this:
// Assembly attribute to enable the Lambda function's JSON input to be converted into a .NET class.
[assembly: LambdaSerializer(typeof(Amazon.Lambda.Serialization.SystemTextJson.DefaultLambdaJsonSerializer))]

namespace OhMyLambda.Functions;

public class MyFunctionClass(IAmazonDynamoDB dynamoDbClient)
{
    public MyFunctionClass() : this(CreateDynamoDbClient()) { }

    public async Task<APIGatewayProxyResponse> Handler(APIGatewayProxyRequest request, ILambdaContext context)
    {
          ... more code here ...
Before debugging, make sure you see Mock Lambda Test Tool as your startup option. You should also have DynamoDb running if it’s needed.
Starting DynamoDb
If you also need DynamoDb to be running, you should start it before debugging. If you have installed DynamoDb Local from the link above, you need to get AWS Credentials and THEN start it.
To get AWS credentials for the local instance, open PowerShell and run aws configure and use the following credentials:
AWS Access Key ID [None]: fakeMyKeyId
AWS Secret Access Key [None]: fakeSecretAccessKey
Default Region Name [None]: fakeRegion
Default output format [None]: (just hit enter)
This will take care of being able to access DynamoDb locally with the proper credentials
Once the credentials have been set, you can launch DynamoDb as follows:
I added this to a batch file to quickly run it from File Explorer.
This will launch DynamoDb. You can press Control-C to end its process when you’re done.
Debugging
You should be all set now. Simply launch the debugger and you should see the Mock Lambda Test Tool appear in your default web browser. It will look something like this:
If you don’t see your function details, or the top two dropdowns are empty, you have an error in your configuration. Make sure that function-handler is correct!
Triggering the Lambda
So how do you send the payload and trigger the Lambda? Amazon has you covered – just select API Gateway AWS Proxy from the Example Requests dropdown. Then, fill in the “body” with the proper JSON-formatted-as-string. Hit Execute Function, and the request will be made and should trigger your debug breakpoint, assuming you’ve set one.
The End
That’s it! You should be able to debug now! I hope this helped. If you have any updates or questions, feel free to hit me up. You can find me on LinkedIn: https://www.linkedin.com/in/aurirahimzadeh